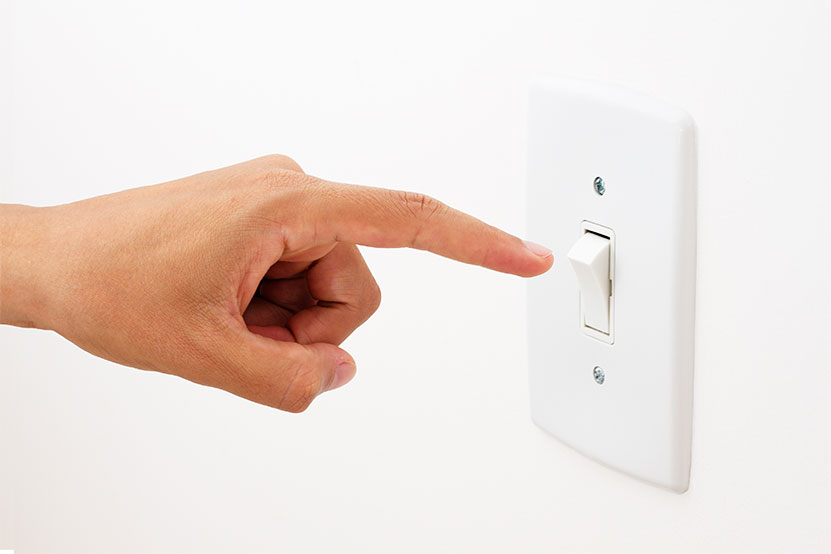
An argument could be made that light switches are among the most important energy-saving tools in our homes because they allow us to easily turn off lights when lighting isn’t needed.
Time to update a switch? This programmable light switch offers up to 7 different settings plus manual override.
Here we look at how to install or replace light switches. Why might you want to do this? For starters, light switches wear out because of their frequent use. When they wear out, they don’t work or, worse, they give off sparks. A light switch that gives off sparks is a fire and shock hazard and should be replaced immediately.
Another reason for replacing a light switch is better functionality. As discussed in the Light Switches Buying Guide, light switches have come a long way in recent years. Today, options include dimmers, motion-sensing switches, timers, central lighting controls—and more. Any one of these options may perform much better at a given location than a conventional (“single-pole”) light switch. (You can’t, however, replace a single-pole switch with another type that requires more wires, such as a three-way switch.)
Appearance is yet another reason for switching switches. Quite simply, new light switches can add a contemporary look to a room.
Caution: Before working on a light switch, shut off the power to the circuit—never work on an energized circuit.
How to Replace a Single-Pole Light Switch 
1-. After shutting off the power to the switch, use a screwdriver to remove the plastic faceplate and to unscrew the existing switch from the electrical box. Pull the switch outward without touching any bare wires. Use an electrical tester to check the wires that go to the existing switch (or the new wires that are intended for the switch) so you can be sure they are not active. Place one probe on the bare ground wire inside the box and touch the other probe on each of the wired screw terminals of the switch or the bare end of the black wire that will carry electricity to the switch. No voltage should register.
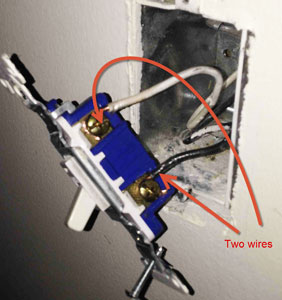
2-. Once you’re sure the power is off to the switch, use the screwdriver to remove the existing switch (if there is one) from its wires. If the wires are connected to terminal screws, turn the screws counterclockwise to loosen them and unhook the wires. If the wires are pushed into terminal holes in the back of the switch, push a very small flat-bladed screwdriver into the slot next to the screw connection holes to release the wires.
3-. Straighten or, if necessary, clip off the very ends of the circuit wires you will be connecting to the switch. Use wire strippers to remove 1/2-inch of insulation from the wire ends unless the ends are already stripped.
4-. Loosen the green grounding terminal screw on the switch and, using needle-nose pliers, loop the bare or green grounding wire from the circuit clockwise around it, and tighten the screw to lock the wire in place. Note: If the switch has its own grounding wire, twist the bare end together with the circuit’s grounding wire, using lineman pliers, and secure it with a copper compression sleeve or wire nut. Note: If you are using a metal box, include a grounding wire “jumper” from the ground wire connections to the box.
5-. If the switch has terminal screws, loop the circuit wires clockwise around the terminal screws in the same fashion and tighten the screws. . It does not matter which wire goes to which terminal. If the switch only has push-in terminal holes in the back, make sure that 1/2 inch of insulation is stripped from the end of each circuit wire, straighten each tip with lineman’s pliers, and push the wires into the terminal holes (again, note the brass and silver sides of the switch). Wiggle all the wire connections to make sure they are secure.
Note: If the new switch has short wires coming out of its body, use lineman’s pliers to twist together the bare end of the green wire clockwise with the circuit’s green or bare ground wire, and then secure the connection with a wire nut. Then join the bare ends of the switch’s wires to the circuit wires, twisting clockwise, and secure them with wire nuts. Wiggle the wires to make sure the connections are secure.
6-. Mount the switch right side up. First, fold the wires behind the switch and carefully push the switch into the box. Next, align the switch vertically by adjusting the screws in the mounting slots. Also make sure the switch is flush with the wall. If it isn’t, shim it out using the break-off portions of the switch’s plaster ears or use special washers sold for shimming purposes. Screw the switch to the box.
7-. Screw the faceplate to the switch using the screws included with the faceplate. Then turn the circuit back on. If the light still doesn’t work, the problem is in the wiring or the light fixture.
Source: http://www.hometips.com/repair-fix/replace-light-switch.html


Leave A Comment